Knowing how to declutter makeup is a skill anyone should have if they own a large makeup collection. Because otherwise, you will keep buying makeup and storing it in your drawers, until you can’t close them properly. Or won’t have any place for new makeup.
So from time to time you need to declutter your makeup collection. So you can make room for new products, obviously. But also, to get rid of old or broken products that you can’t and shouldn’t use on your face anymore.
I’ve recently gone through this process and it helped so much. I freed up space for myself and it was great to go over my collection piece by piece, because I discovered some old favorites I hadn’t used in a long time.
So if you’re wondering how to declutter makeup, I’m here to help with tips & tricks from my own experience. I hope they inspire and motivate you to do the same to your makeup collection.
Let’s go!
Step 1: Tidy up the space before starting to declutter
First step in any decluttering process is to tidy up the space before actually starting to declutter. What I mean is to clear the space close to or around the makeup cabinets / drawers, so you can have a spot where to put products while you consider keeping them or throwing them away.
I recommend clearing the counters and the floor around the makeup collection, you will need all the space you can get.
Also, give yourself 1-2 hours to go throw all of them, and then organize the remaining ones back into the drawers. I did in 30-45 minutes, but I have a rather small collection.

Step 2: Prepare bags / baskets for decluttered products
The second step of how to declutter makeup is to prepare your “cleaning supplies”. And by that, I mean bags or baskets where you can organize all the products.
It could be trash bags, trash cans, random bins you have laying around. Anything works for now, you just have to have them separated.
You will have to clear out all the drawers and go through each product, then place them in the specific bag / basket. More on that, below.
Step 3: Declutter your makeup collection
Here we are, step 3 and the most important, because it’s the step where you actually get to work and declutter makeup.
Remember the organization items in the previous steps? Well, take 4 of them and split them like this:
- Donate pile
- Friends & Family pile
- Garbage pile
- Keep pile
Now you have to go through each makeup item, one by one, and place them in their corresponding pile.
Here’s how to determine where each product fits
- If it’s broken / gone bad* / finished, it will go into the GARBAGE bag / basket
- Now, if you WANT it and it’s not broken / gone bad* / finished, put it in the KEEP pile
- If you DON’T want it, but it’s brand new, never opened, DONATE or GIVE to friends & family
- Lastly, if you DON’T want it, it’s not broken / gone bad* / finished, but it’s partially used (but not more than 75%), GIVE to friends & family (it’s recommended not to donate already opened products)
*By “gone bad” I mean any of the following:
- Has a weird texture;
- Smells bad;
- Is older than 2-3 years.
Step 4: Organize your declutter makeup collection
Now that everything is sorted and you’re left only with products you want and need, it’s time to organize.
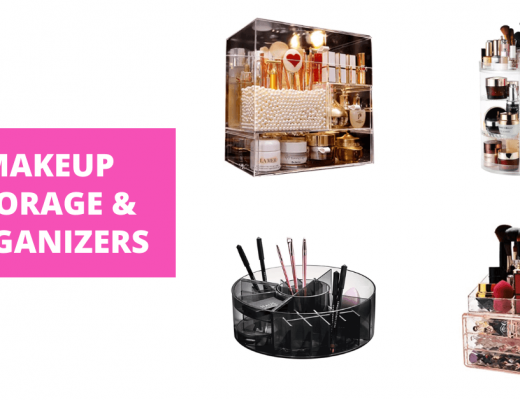
How do you organize and store your makeup? Better yet, in what containers?
Check out my Makeup Storage & Organizers article, you’ll get at least 10 Makeup Storage Ideas.
And that’s it! This is how to declutter makeup. It’s very easy, you just have to make time for it and be ruthless about what to keep and what to give or throw away! Good luck!
P.S. If you’re in a decluttering mode, check out How to declutter your wardrobe and How to declutter your books.


No Comments